Create a base item
Steps to set up a base unit
There must be a base unit in every packaging hierarchy, so start by creating the base unit. The base unit can be a consumer unit, like for example a chocolate bar or it can be a package sold to the restaurant sector like for example a large flour bag. The base unit is always the smallest unit delivered.
Basic product information
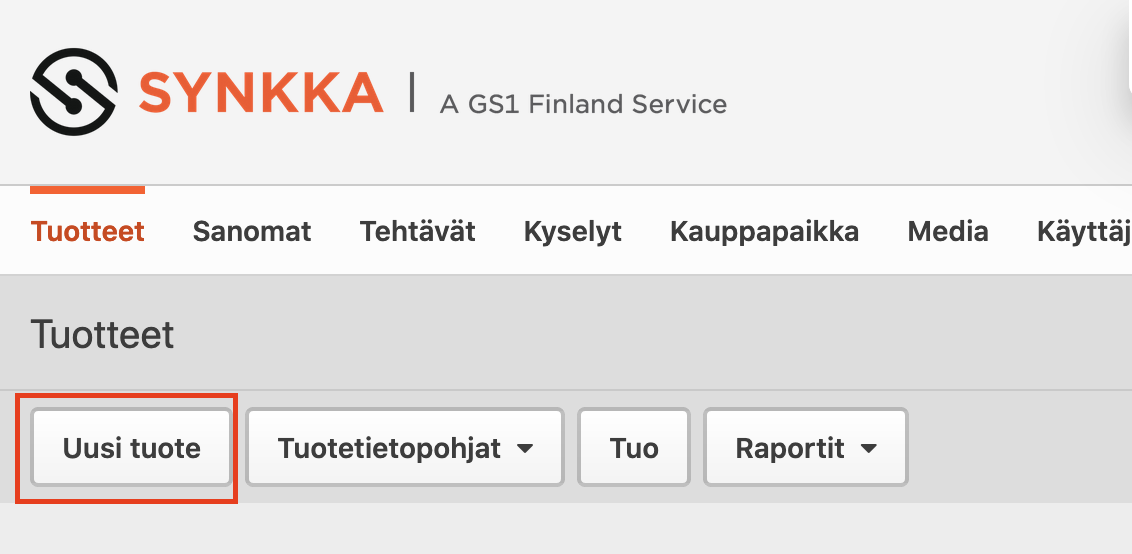
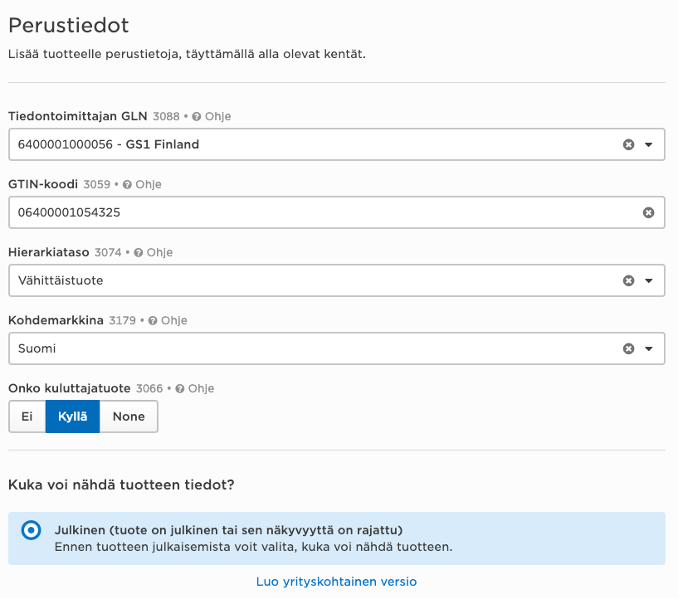
In Items view, click on the tab New item, to start creation of a new base item. Supply basic information: GTIN, Trade item unit descriptor code, Target market country code, Is trade item a consumer unit. Also choose who should be able to see the product information.
The GTIN is entered as a 14 digit number. Please add leading zeros to the GTIN if necessary. Coose Base unit for Trade item unit descriptor code. The target market is selected according to which market you want to publish to.
Is trade item a consumer unit should be true, if the product is intended for use and utilization by the consumer.
Who should see this?
-
Public (with or without restrictions), The item information is visible to all recipients. The user does not need to add recipients separately. tuotetiedot ovat kaikkien tuotetiedon vastaanottajien nähtävissä.
- Restricted, product information is published to a limited group of recipients (e.g. Meira Nova, S- Group). Recipients other than the recipient list will not be able to see and subscribe to the product. Only one version of product information is created for all recipients. Select the Public option here, you will choose the recipients when publishing the item.
- Private, Only the customers or data recipients you add to your products will be able to see the data. There are as many versions of the product in the user interface, as there are recipients defined for the product.
Click on the next button.


Product Classification
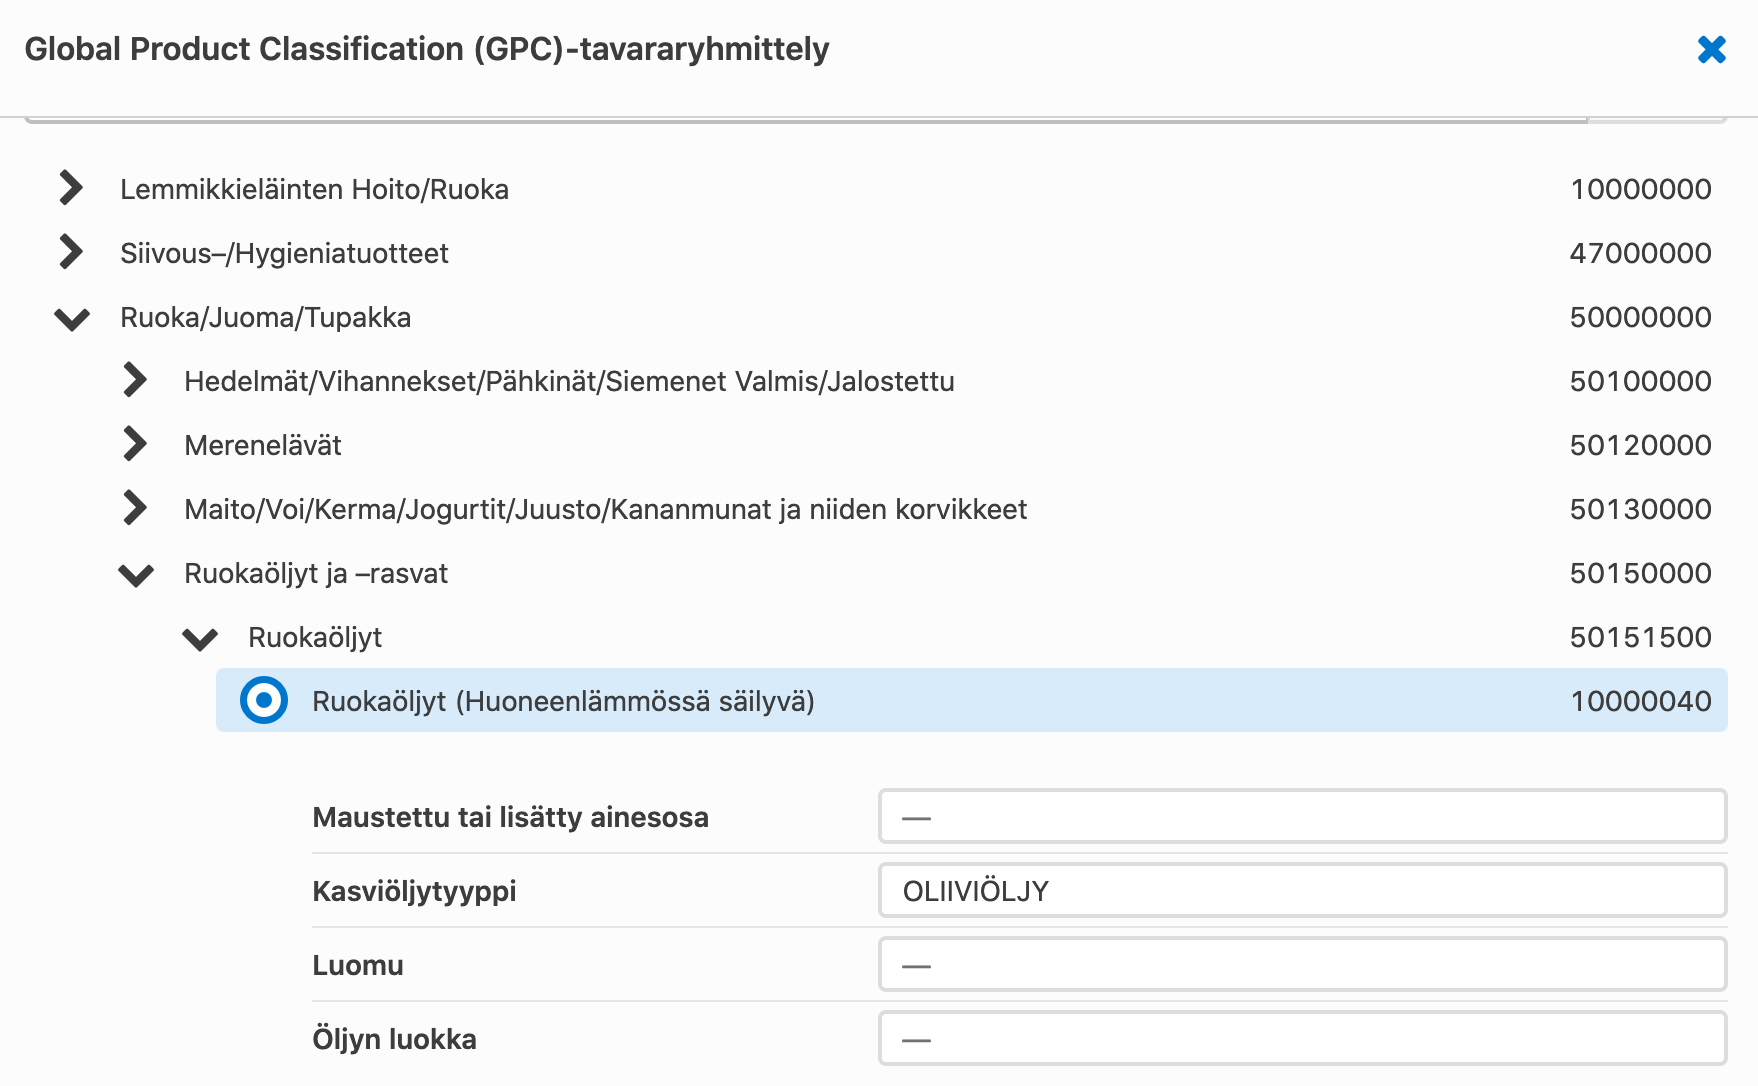
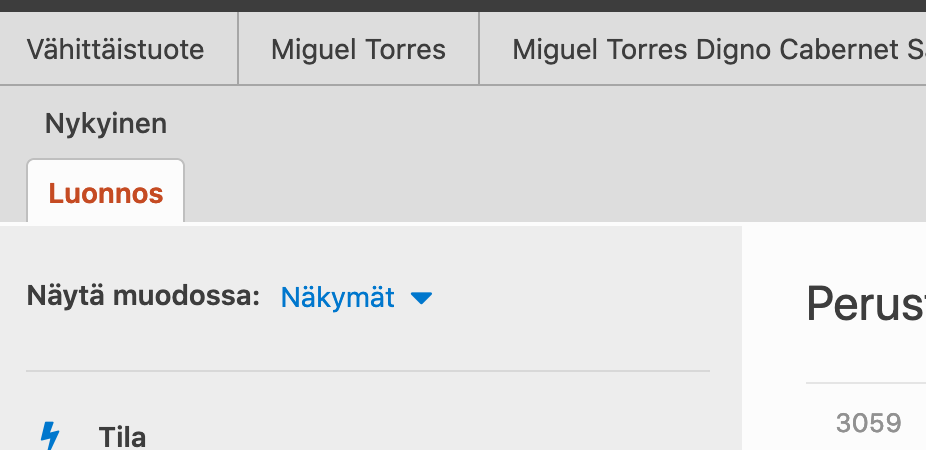
Select the GPC-brick code for the product from the drop-down menu, either by filtering or by keyword. After selecting the correct Brick code, a list of product attributes opens below it. Attributes are selected for products that complement or specify product information. It is not necessary to comment on all data fields. Save the information. The product has now been drafted and you can continue entering data into the views on the left.


Complete product information
Continue by adding information to the base item. Information is added in to the views on the left. Go through all views and add information relevant to your product. You can move from one view to another without saving, but remember to save before living the user interface.
The product information provided, depends on the type of product in question. Product-specific information is always provided for the product. A good rule of thumb is that the following information should always be supplied:
- All information on the product packaging (ingredient list, names, packaging labels)
- All information that can be extracted from the packaging (eg. weight, packaging materials and dimensions)
- Information required by law (eg. product origin)
- Information required by retailers (price comparison measurement and information in different languages)
Please see our additional tips further below on this page.
Related instructions
Add a case, pallet and a product image
Now you have created a new base unit. Continue by adding a case and pallet to the hierarchy. Please also add a product image, which enables the retailers to sell the product.
Useful tips for data entry
We recommend that you collect all product information before starting data entry. Once the product information is ready, saving it is quick and easy. In addition, you can make the work even easier by using instructions, search functions and the user interface checklist. See our tips here below!
A checklist appears on the right side of the page. The checklist shows errors and warnings in the product information. The checklist only shows what information is software-required, in addition to this, a lot of other information is provided, such as information required by law or information required for e-commerce. Press the arrow button on the checklist, and the system will take you directly to the information that needs to be corrected.
There are two types of notifications
- Error
- The notification is red, publication is not possible
- Warning
- The notification is yellow, it is possible to publish the item information. Warnings guide users to check information.
There is a small question mark next to the attribute, which you can click to conveniently view a short description of that attribute and how to use it.
A lot of different information is given to a product and therefore it can be difficult to find the right attribute in the product information. The attribute search function can be found in the upper right corner of the user interface and allows you to search for attributes at that hierarchy level.
You can search for the attribute by name or its id number, eg 1837 Packaging Marked Label Accreditation Code. Once you have entered a search term and selected the appropriate option, you will be directed to the attribute you selected.
